With Cloudhouse Guardian (Guardian), you can schedule a change report job on a node, node group, or environment, according to a specified schedule. This job type generates a report on the chosen node type and emails it to the list of recipients provided. The following topic describes how to add a 'Scheduled Change Report' job type. For more information on the other types of report jobs you can schedule, see Report – Job Type.
Add a Scheduled Job
To add a 'Scheduled Change Report' job, complete the following:
-
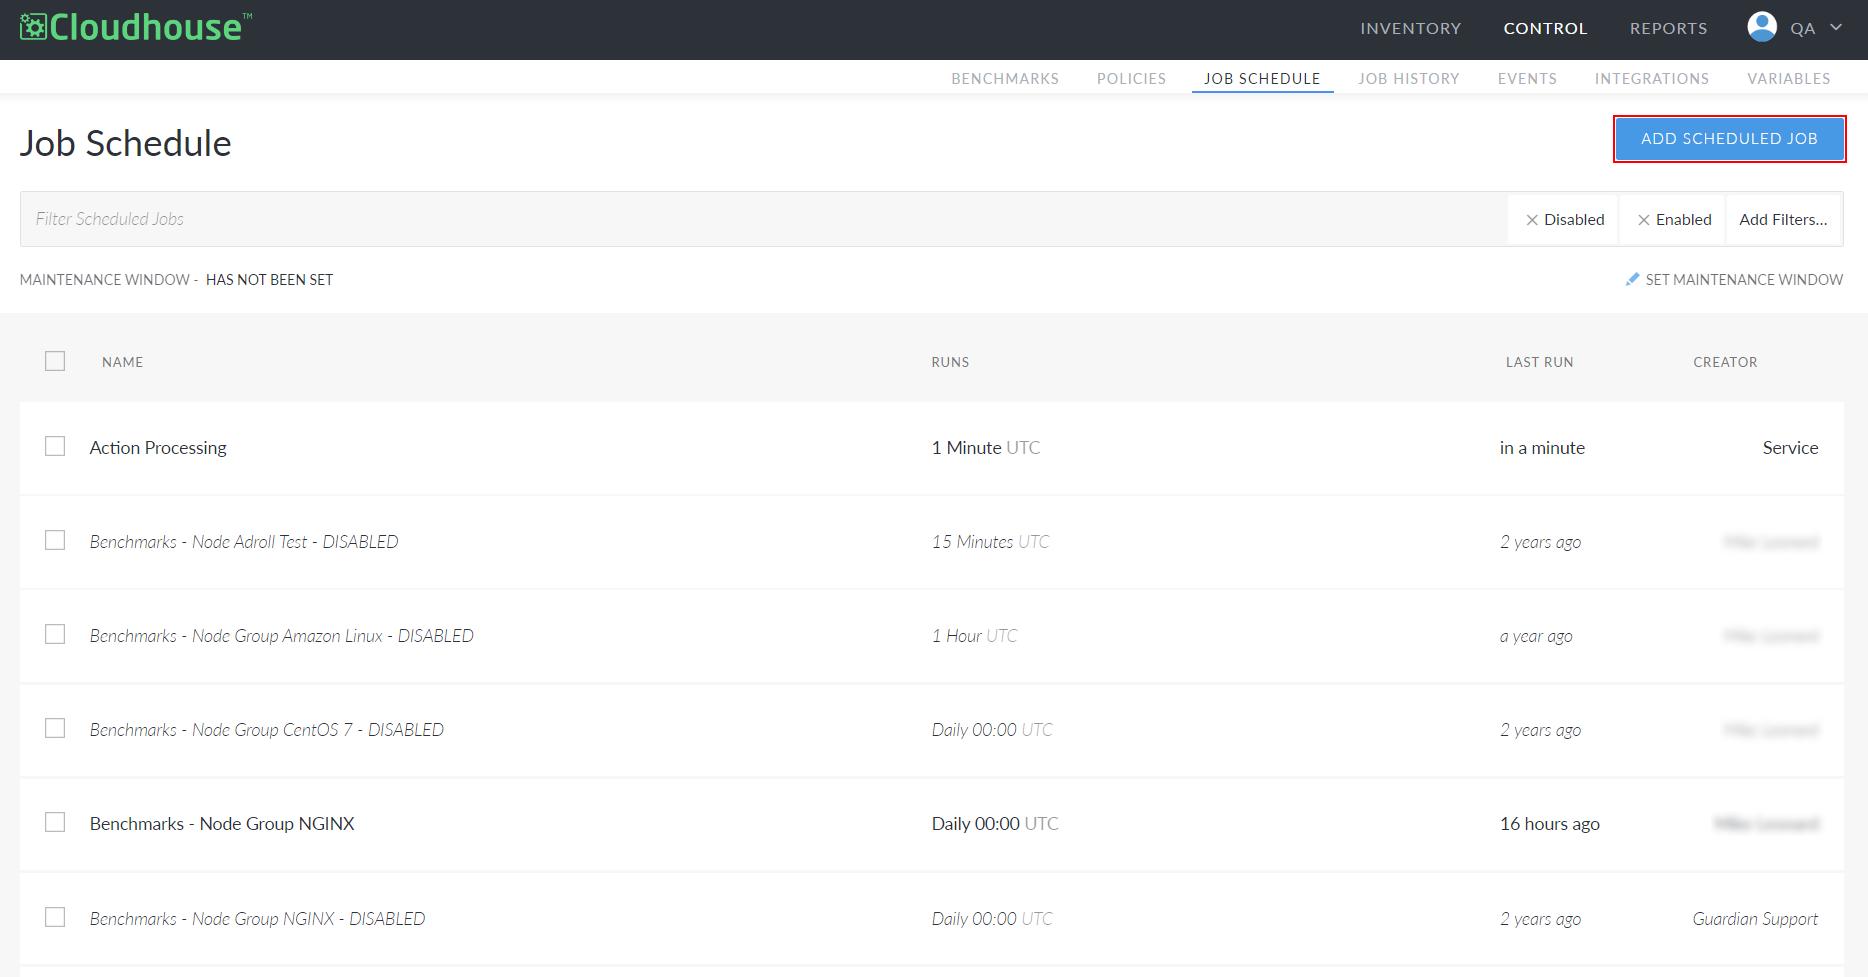
In the Job Schedule tab, click to Add Scheduled Job.
-
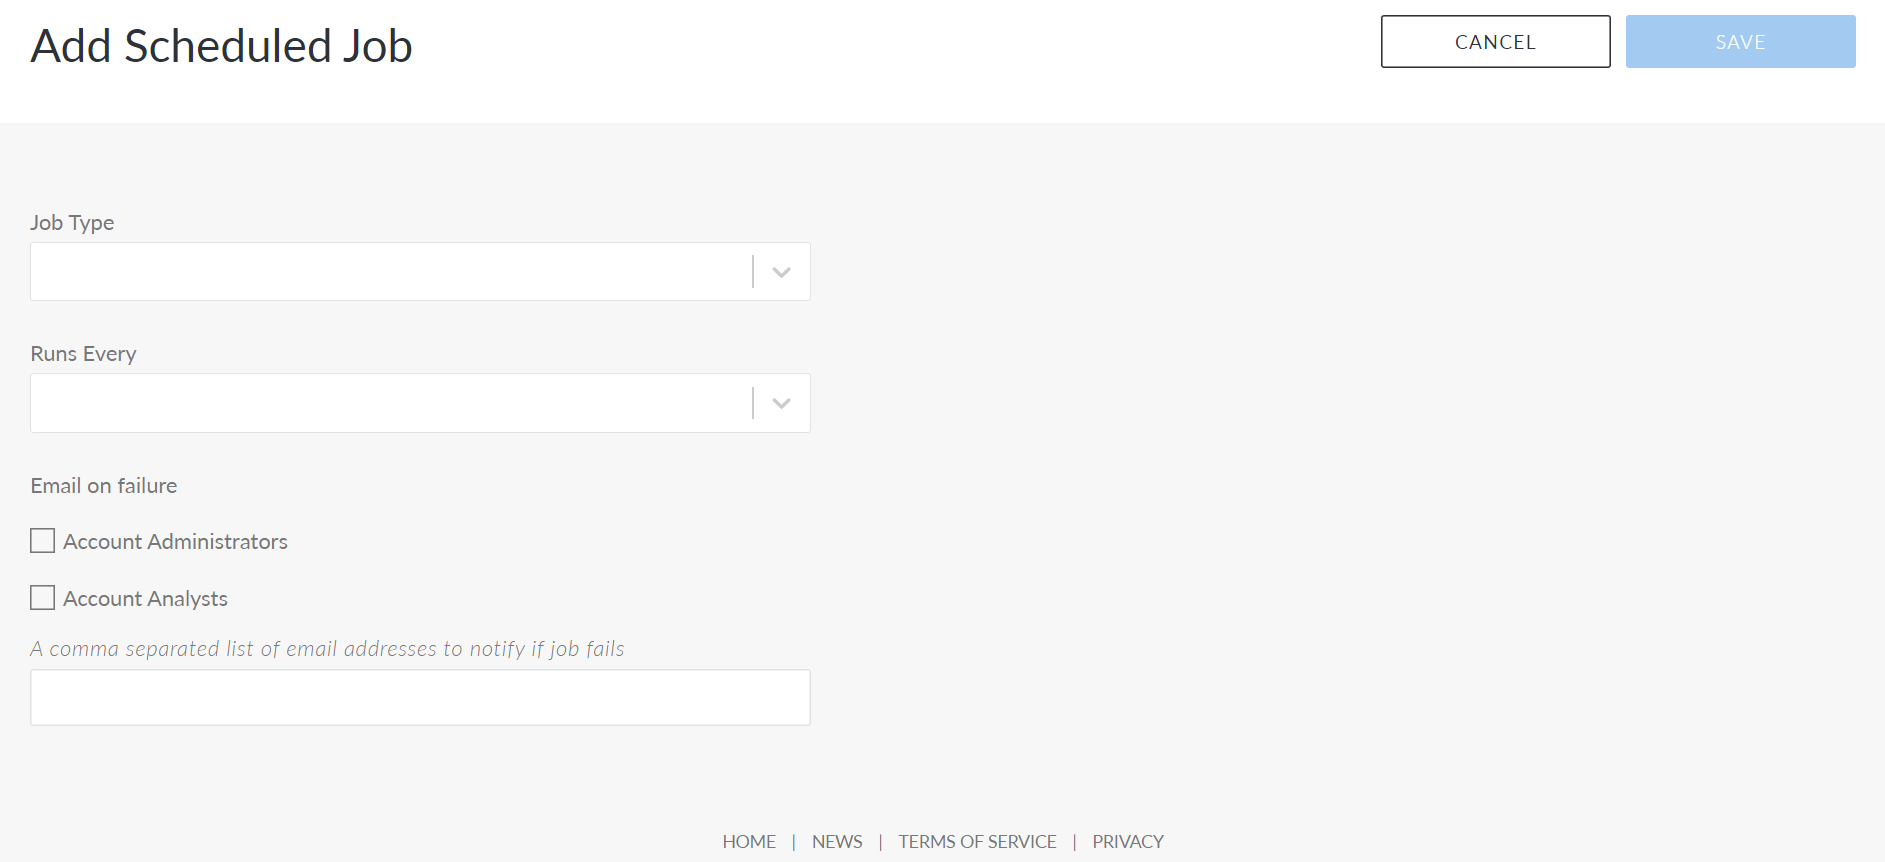
The Add Scheduled Job page is displayed. In the Job Type drop-down list, select the 'Scheduled Change Report' option.
-
Once selected, the Add Scheduled Job page is displayed with the fields required to add a 'Scheduled Change Report' job.
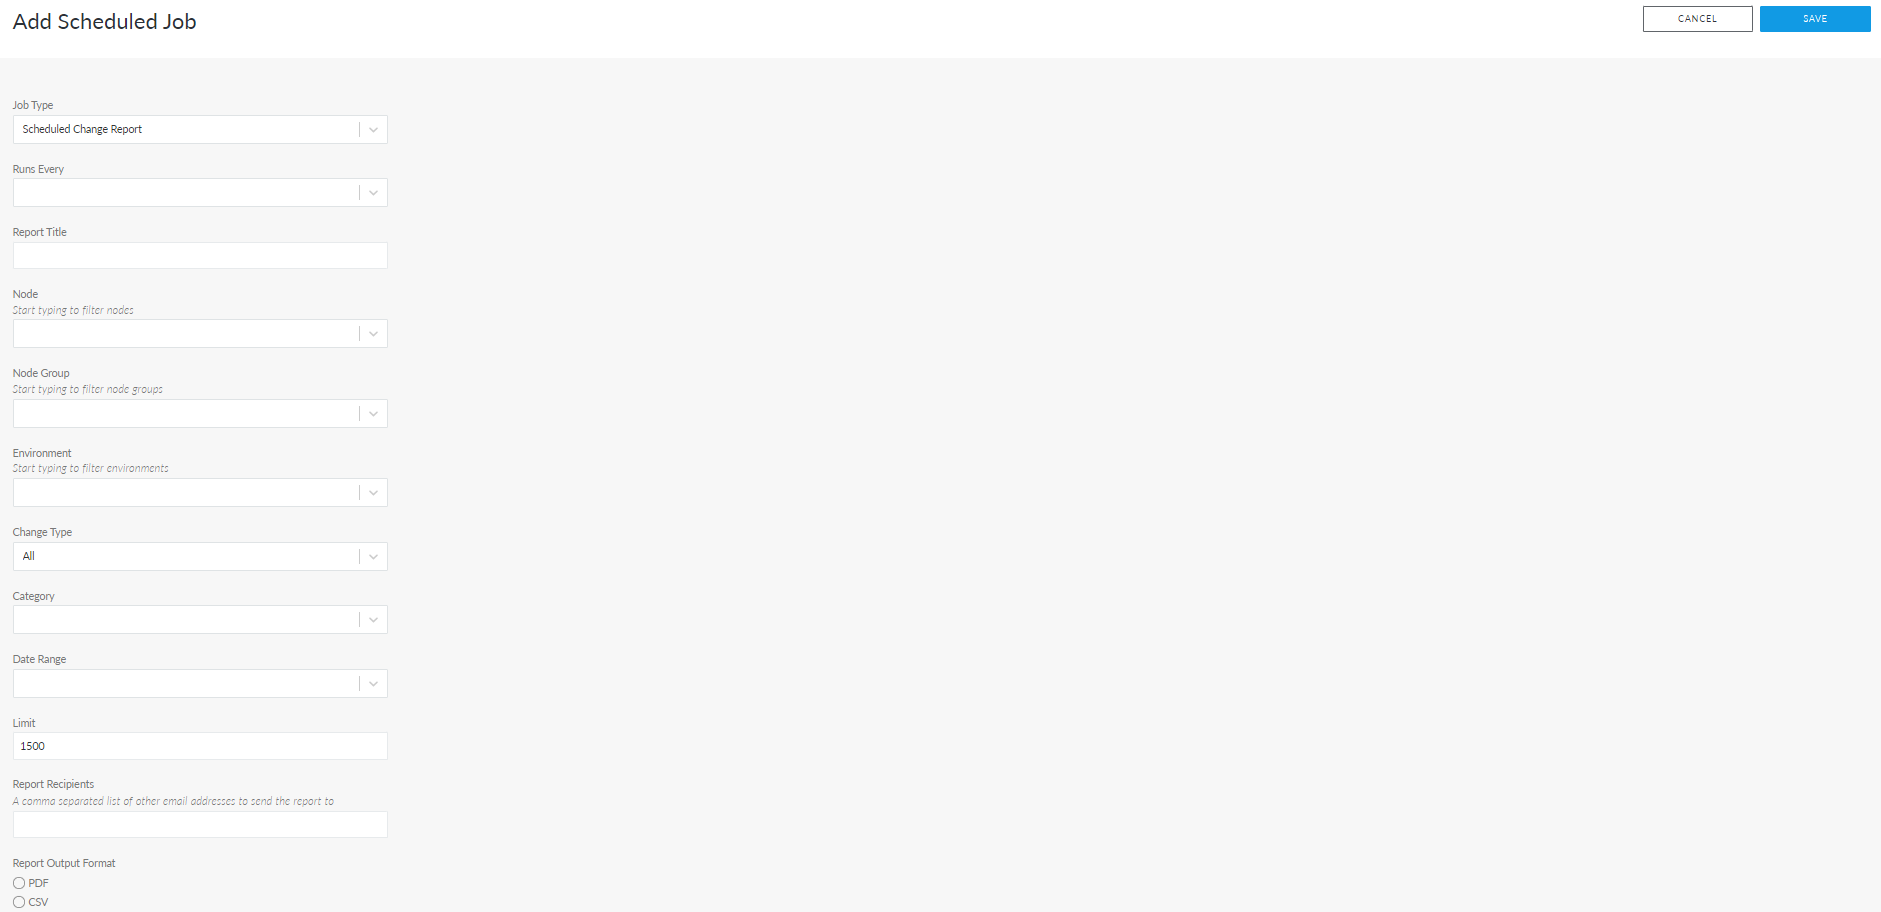
Here, the following options are displayed.
Option
Description
Job Type drop-down list The job type configured to run on a schedule.
Runs Every drop-down list How often the job is scheduled to run. Select a value from the drop-down list. If you select a schedule to run every 12 hours, additional fields are displayed for you to configure the exact day and time.
Report Title field The title of the Change Report. The value entered here will be used as the report's file name.
Node drop-down list The node that you want the job to be performed on. This value will be compared against the selected Node Group.
Node Group drop-down list The node group that you want the job to be performed on. This value will be compared against the selected Node.
Environment drop-down list The environment that you want the job to be performed on.
Change Type drop-down list The type of changes you want to be reported on. Select 'All', 'Added', 'Modified', or 'Removed' from the drop-down list.
Category drop-down list The Configuration Item (CI) type. Select a value from the drop-down list to filter the content by CI. For example, 'Clusters'.
Date Range drop-down list The time frame that you want to be reported on. Select a value from the drop-down list, for example, 'Past 4 weeks'.
Limit field The maximum amount of changes to be documented within the change report. Enter a value in the field provided. By default, the Limit is set to 1500.
Report Recipients Enter a list of email addresses to send the report to, each separated by a comma.
PDF radio button Select this option to generate the report in PDF format.
CSV radio button Select this option to generate the report in CSV format.
Account Administrators checkbox Select this option to notify account administrators via email if the job schedule fails.
Account Analysts checkbox Select this option to notify account analysts via email if the job schedule fails.
A comma separated list of email addresses to notify if job fails field Enter a list of email addresses to notify if the job schedule fails, each separated by a comma.
-
Once you have entered the correct value in each field, click to Save the job schedule.
If each value was set correctly, a confirmation message is displayed and the job is added to the Job Schedule tab. The job will automatically run according to the schedule you set.
Note: Once the job is run, the results are displayed as a 'Scheduled Change Report Job' event in the Events tab. For more information, see Events.